– Basic Level")
 Part 2")
 Part 1")


OST ( offline storage table) is an offline Outlook data file that you can use to keep a copy of your mailbox information in sync with your system. You can use Outlook while working offline.
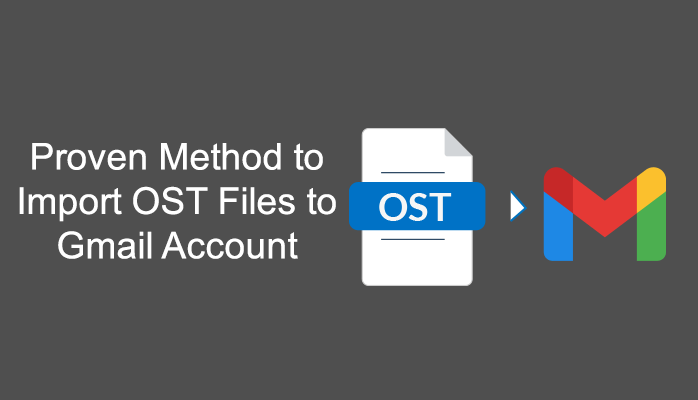
So, If any user looking for a better approach to import OST files to your Gmail account you’ve come to the right place because next, we will talk about the most reliable solution. It allows users to import OST files to their Gmail account smoothly. Implementing this technique, users can make a full backup of the OST file on the Gmail account.
Why Do Users Need To Import OST Files To Gmail Account?
Gmail is a browser-based email client so, Users have the privilege to access the account from anywhere in the world, regardless of the system they are using. Sometimes, It creates trouble to open the OST file on the other system, Other than the one in which it’s configured previously. In addition, access to OST files requires sufficient connectivity to the Exchange server. Therefore, Let’s look at some specific reasons in the following line.
- When a user wants to access their work email from a personal Gmail account through the Exchange server mailbox.
- To be authorized to access the conversations in the Outlook application via a browser.
- To copy the OST file into another processor.
- Print the attachments of the Outlook offline data file.
Manual Approach To Import OST Files To Gmail Account
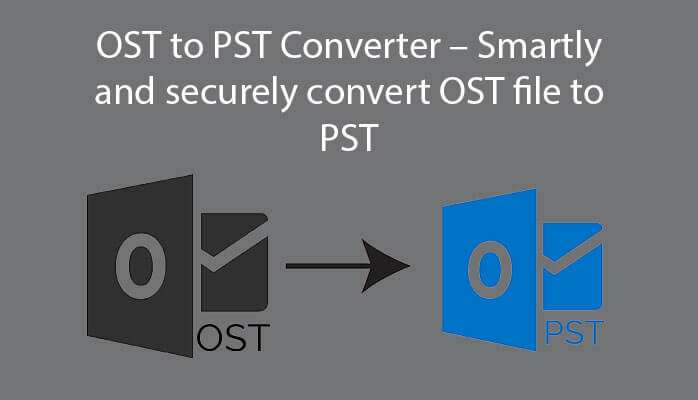
It becomes impossible to convert the OST File directly to a Gmail account using a manual solution. To do this, you need to convert the OST file to PST format first. Your email account is a third-party account like Gmail, AOL, etc., which stores the data in the OST file.
So, here will be mention about three steps that will provide the benefit you in converting data ost to a Gmail account :
Step 1: Locate the OST Files
- First, Click on the File section and then Account Settings>>Account Settings.
- Now, tap the Data File tab and find the OST file. Then click the Open File Location tab.
Step 2: Save OST File As PST File Format
- First, Click on the File tab >> Open & Export >>Import/Export.
- Pick the Export to a file section and tap to the Next.
- Select the Outlook Data File (.pst) section and click on the Next.
- After that, click on the email account that you want to locate and select the item you want to export as a PST file, and click Next.
- Finally, Click on the Browse button and save the PST files in the desired location and click the Finish button.
Step 3: Import PST File To Gmail
- Search for G Suite Migration for Microsoft Outlook in any browser and download the application.
- Start the application after searching for it.
- Now, You will be prompted for your credentials, click Next to continue.
- This will open the login page in the user’s default browser.
- Here, you will be asked with a message that GSMMO wants to access your Google account. Scroll down and click the Allow button.
- If all goes well you should see a confirmation message that authorization has been granted successfully. Please switch to your application.
- This opens a new dialog window. Select From PST File from the drop-down menu and click Next.
- You will be directed to the location where all Outlook PST files are saved. If you saved your converted PST file to a different location in Step 1, paste the file path of that location into the address bar.
- Now, the file is imported. And click on the Next tap.
- Customize the migration settings as needed. When you’re done, click on the Migrate section.
- Finally, here starts the migration process. Depending on the size of your PST file, the process may take a while.
- After that, you will be prompted to report a completed migration.
- To find newly imported PST files, Sign in to your Gmail account.
And finally here, Ends your migration process successfully.
Read More : Techniques to Convert MBOX into PST File Format
Technical Approach To Import OST Files To Gmail Account
When you get troubled with the lengthy manual method, You need to go towards direct methods. Therefore, The technical Cigati OST to PST Converter is an excellent alternative. With this technical approach, the whole process can be completed easily. It is a multitasking tool. With the help of this software, not only Gmail email clients but many other email clients can be imported such as Yahoo Mail, Thunderbird, Office 365, Live Exchange, GoDaddy Emails, HostGator Emails, etc. It also excludes duplicate emails in the selected OST file during the process.
Wind-Up
Here, We introduced both the manual or technical process to import OST files to Gmail accounts. And we noticed that the manual approach is quite lengthy as well as complicated. It can be very challenging for non-technical users. Here, As we have also discussed the technical approach. It works easily, Which helps a lot for both the non-technical or technical users. This tool also saves time, Due to which users will prefer to work with the alternative. So, It makes it easy to download OST to Gmail directly from Gmail’s credentials.
You May Also Read:
-Two Free Proven Ways to Convert OST to PST File
-Top tools to become a Devops Engineer
-How to Export Mac Outlook Contacts to iPhone?
-How to Open Outlook OLM File in Windows PC? Quick Guide